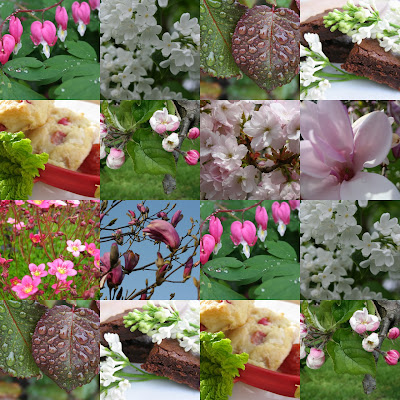
Sometimes I like a simple picture but even then I prefer to crop it so that it is not as deep.
So. . just in case you didn't know here is how I do it.
(I'm sure there is another way .. . .)
First of all I'm using Picasso for this.
Take a variety of pictures or use any pictures from any folder you have.
Don't press that yet. .
just see where it is.
if you don't select enough your collage may end up being a 3 across instead of 4.
As you select each picture press hold ..
it will keep it in a separate folder.
If you want to deselect a picture just highlight that one and press clear.
It will ask you which collage you want.
you want the picture grid.
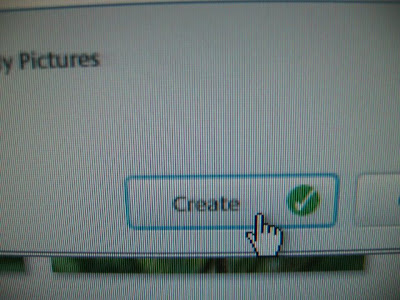
Um. . . create. . .
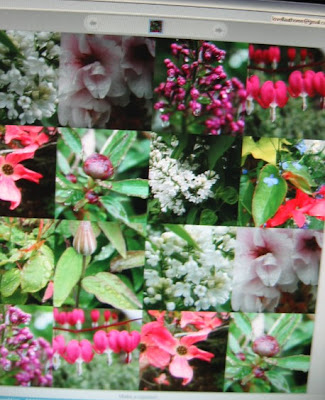 See? Isn't that pretty?
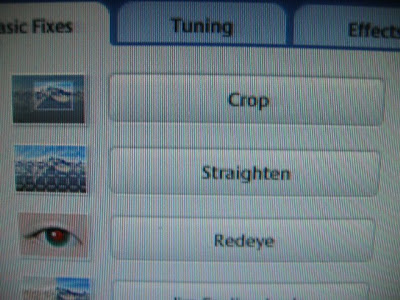
Now you will need to crop it ..
on the left hand side is a toolbar. .
Look for Crop. .
and press it.
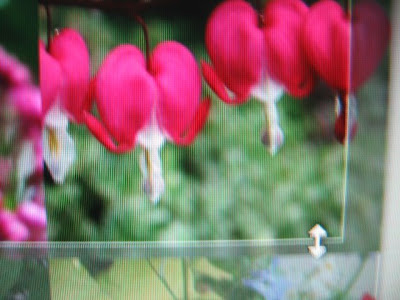
Now, with your cursor you will outline the section you most prefer. .
sometimes this drives me nuts and I select and reselect a dozen times.
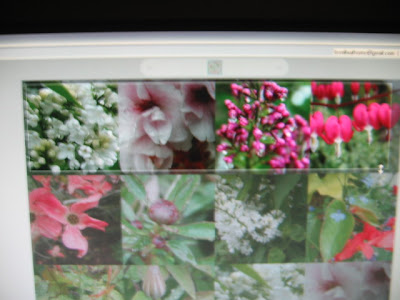
It should look something like this, with the rest of the collage slightly shaded.

Apply.
So right click on the collage.
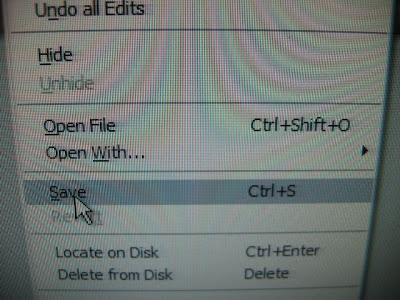 Select Save.
 Click on File on Disk.
If your template is narrow like mine make sure that you have the option shrink to size selected,
 Click Browse to find the collage.
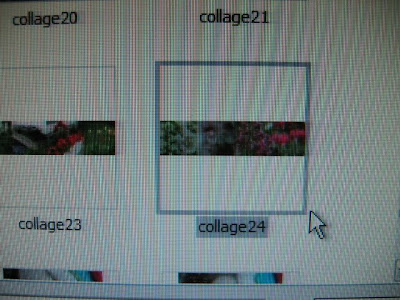 Highlight the collage you want by clicking on it.
If you don't want a collage . . .just a narrower picture. . . .
 Select Save.
now you need to press Locate ..
and you need to
 Click on File on Disk.
This is important if you are me. .
I have made several collages.
Pay attention where it is saved.
Mine end up at the very end of all my pictures in Picasso.
Go into your dashboard and into Page elements
and go to the header box and click on edit.
If your template is narrow like mine make sure that you have the option shrink to size selected,
otherwise it will be too wide for your template.
If your template is the stretch version. Do make sure you have unselected the shrink to size button.
I'll be retrieving this one later. . I've put up a collage today for your amusement.
 Click Browse to find the collage.
always gives me a wee bit of satisfaction if it is where I think it is. .
 Highlight the collage you want by clicking on it.
If you don't want a collage . . .just a narrower picture. . . .
You can also use this same crop, save and file under disk if you want your regular picture cropped as I had done with the tulip picture that Iwas replacing in the above photos.
Now you just need to spiff up the color of your blog title.
With the collage it may be tricky since the colors may not show. .
So, just pop into Fonts and Colors to change it.


Lovella, just yesterday I was wondering to myself how you make your collage header. You've read my bloggy mind! I can't wait to make one for myself.
ReplyDeleteYour tutorials are so much more detailed than Blogger's and Picasa's...you should offer your services to them (for pay, of course!).
ReplyDeleteLovella...Honey...I was in following along...reading the instructions and I was there at first and then somewhere along the way I just knew I would be happy forever with one picture on my header :) I was all proud of myself when I was able to do that. Your collage looks beautiful...have a happy day....Dee Dee
ReplyDeleteI'll be back to digest this one! I've never used Picasa...but there's always a first. Great tutorial...and your collage is lovely!
ReplyDeleteOhhh...the secret is out! Your collage headers have mystified me all along, and I figured they counted right up there with secret family recipes!
ReplyDeleteOnce I've got a bit more giddyup going, I'm going to give it a whirl. I wonder if I could also just save the image to desktop, using SAVE AS, so I can just name it and find it from Brows, selecting Desktop. That's what I always do with my sidebar images.
Thank you for do this...I know it took some time!
PS: Your bleeding hearts have just knocked me out this year. Are they always this lovely and prolific?
ReplyDeleteAnd...B.'s orchid did a Lovella...shot out stems and bloomed by golly. Will miracles never cease?
Thanks for the lesson, Lovella. I was wondering how you did it...so simple when I stop and think about it! A little bit of knowledge is a dangerous thing...especially with me and my computer!
ReplyDeleteWhat a beautiful collage header. Happy Birthday to Stu! I do remember that exciting day when we got the call that there was another baby boy added to your family. We so enjoyed the many times we spent with him growing up. He is a great guy! Enjoy your time with his little girl today:) Kathy
ReplyDeleteHow very clever. Now I have to work out how to keep your tutorial where I can see it....whilst actually doing it all!
ReplyDeleteThanks for the tutorial...I was wondering how to do that!
ReplyDeletehey lovella, thanks for the tutorial...the way you have mentioned it along with the the snaps , makes it really really easier for anyone to follow it..
ReplyDeletei did not know that i could use picassa to make a collage..
happy life..and a nice blog ya got..!!1
regards
idrish...
Thanks, once again for your wonderful tutorial. Thanks also for introducing me to Picassa way back. I love it and it can do wonders, but it can also mix you up....but I have learned so much. It's an easy program to use.
ReplyDeleteSo now watch for all those new collages.
Enjoy that little one.....
Lovella you are such a wise, kind woman...really I am amazed with the things you do at your blog. It is lovely, as are you! Did you teach yourself this, I truly am in awe. Honestly, it all baffles me. Your tutorial was great!
ReplyDeleteNow can you remove the mystery of how you make your friends blogs post on your sidebar...I love that! So nice and very interesting!
I love you my sweet friend. Glad God gave you to me ;-)
Kimmie
mama to 6
one homemade and 5 adopted
Hi Lovella!
ReplyDeleteThanks so much for visiting my blog and leaving a comment. It was so sweet of Kimmie to include us in her post about names, your name is beautiful!
I enjoyed my visit to your blog, I'll be back!
Love, Velvia
Thanks for the lesson! So practical.
ReplyDeleteLovella...I read the review on The Shack...my son in law told me of the book and was told it was a good read...I'll have to have him read Julie's review...Thank you so much...Also...I sure wish I was clever enough and not quite as timid when it comes to trying new things...I do so love your header :)Blessings..Dee Dee
ReplyDeleteThank you, Thank you, Thank you! I did it! I always wondered how that was done. Any idea of how to change its size!
ReplyDeleteBlessings
Linda
You are not confusing me at all! Thanks so much for your help. I saw that "shrink to fit" I will work with it again this afternoon.
ReplyDeleteThanks
Linda
What?! That's amazing! Thanks so much for the tutorial...I'll be back for this one for sure.
ReplyDeleteBoo hoo! I can't use this option in Picassa because I've got a Mac! After much searching on the Picassa site, I finally learned this disappointing bit of news. Maybe they will fix this problem at a later date. I can only hope.
ReplyDeleteOkay, I am going to tuck this nugget into my brain for future reference! I have tried unsuccessfully in my past to master the complicated collage but will try again when time slows. Thanks for the encouragement to keep trying new things ~ keeps the brain young, and the adventure moving on!
ReplyDeleteHi Lovella - I'm just getting caught up on some blog posts I missed. This is a really good way to do a header. I use Paint Shop Pro to do mine.I make a blank banner and then clone pictures - but it takes forever. I think Picassa is much simpler. Thanks for the tutorial.
ReplyDeleteI have been trying to find a good way to make a collage header and googled my way to your wonderful instructions! Thank you so much for sharing this and for explaining so beautifully that even my crazy overwhelmed brain could decipher your instruction ;)
ReplyDeleteLovella, just recently found your site and I am really enjoying it, I followed your instructions for the collage and guess what it worked I added a black border around mine, take a peek, thanks so much, have a wonderful day! Diana
ReplyDelete